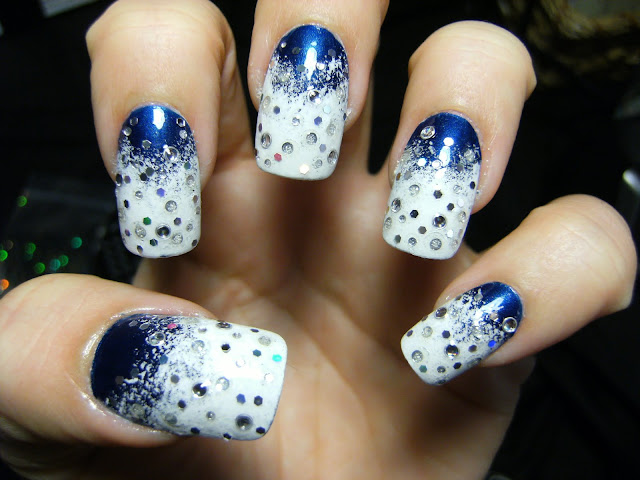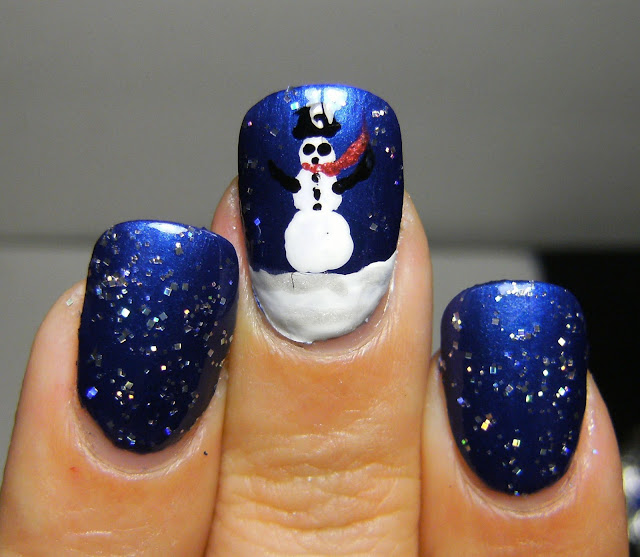
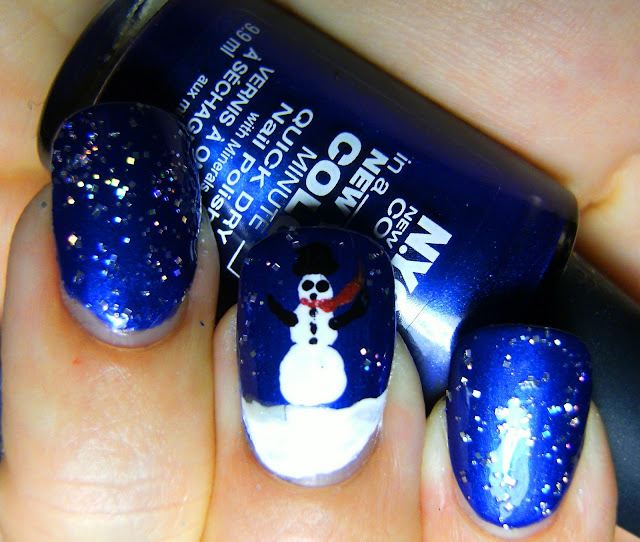
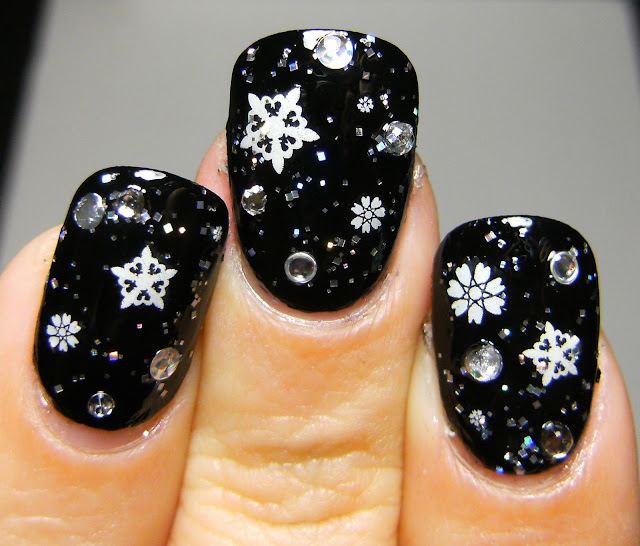
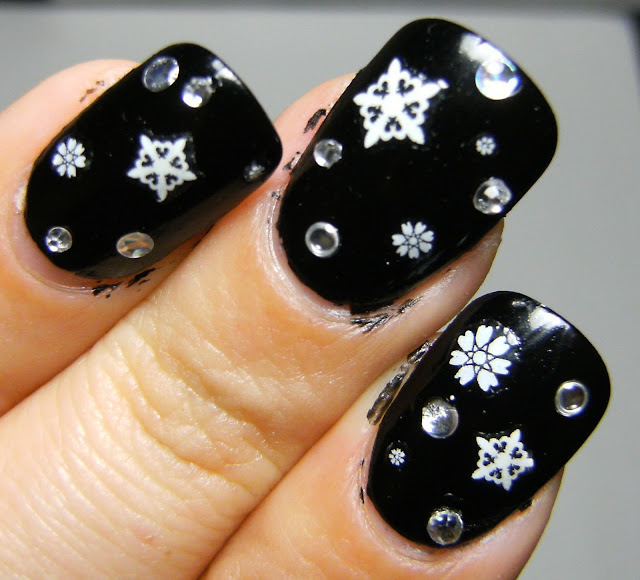
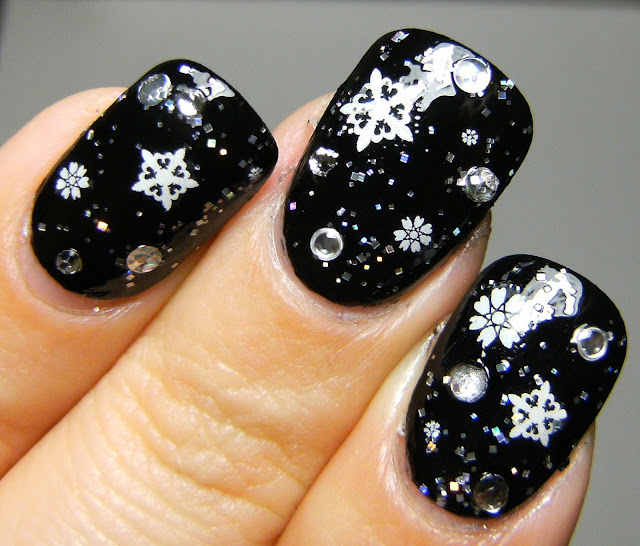
above and below; 3 thin coats of NYC Pier 17, Billie white for the snowman and Fing'rs nail art pen (old) for the glitter. I dotted on some areas with Wet n' Wild Kaleidoscope, and used Wet n' Wild Black Creme for the black accents. This was very easy to do but I think I will skip the scarf next time. I added a coat of Nailene Acrylic Strong TC, but I only wore this for the day. I intended to free hand some snowflakes on the rest of my nails, but I cannot do a good job with the free hand snow-flakes. I will stick to the stickers... ha-ha-ha, I mean I will stick to using nail art stickers for intricate things such as snowflakes and flowers, etc.
~ Snowdrifts ~
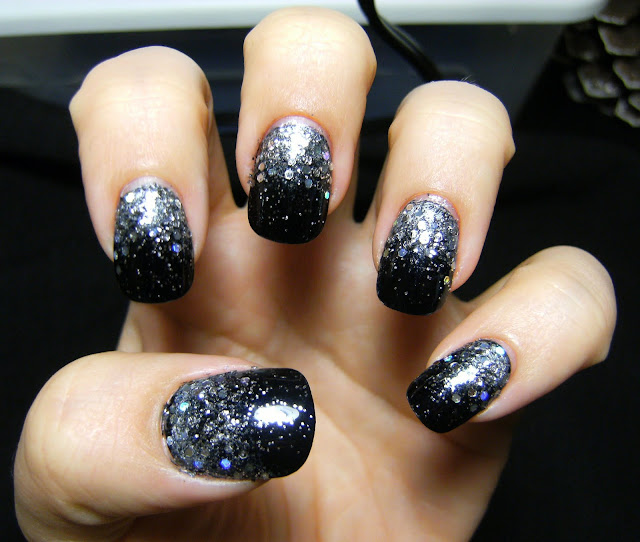
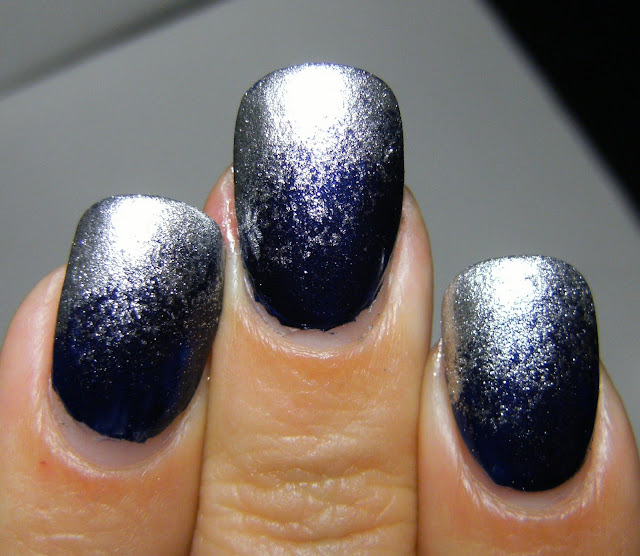
This is 1 coat of NYC Skin Tight Denim, followed by Billie Silver sponged on the diagonal with 1 coat of TC. The sponge technique is a great way to add alot of flair to a mani VERY easily. I just dot nail polish onto a small piece of aluminum foil, dip the sponge in the polish and gently and dab it on my nails.... gradually fading it from the tips or towards the tips of my nails. I just used an ordinary kitchen sponge for this one, but using a foam craft brush works great, too.
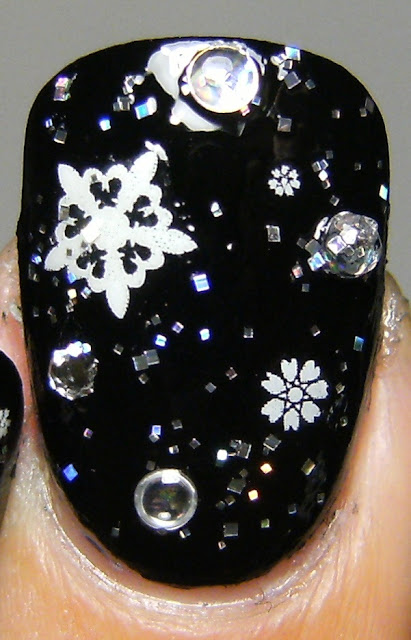
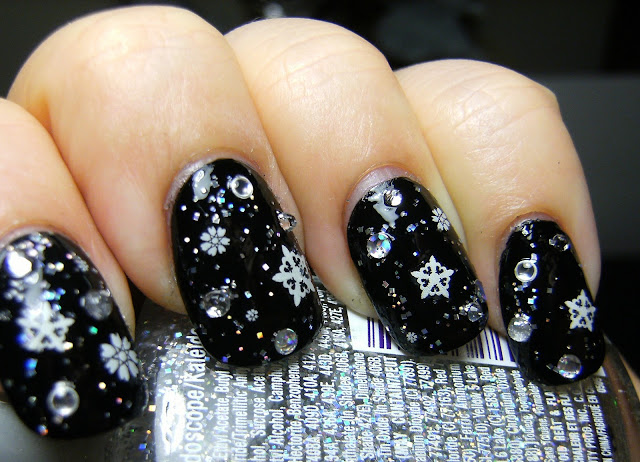
And here is a few more photos.... All indoors under fluorescent lighting.

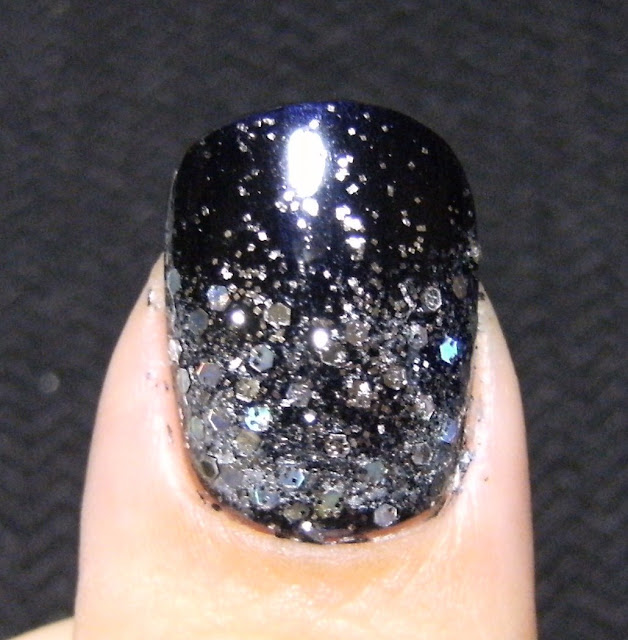
The rest of these photos are 1 coat of NYC Skin Tight Denim, followed by Billie Silver sponged on the diagonal with 1 coat of TC. The sponge technique is a great way to add alot of flair to a mani VERY easily. I just dot nail polish onto a small piece of aluminum foil and dab it on my nails.... gradually fading it from the tips or towards the tips of my nails. I just used an ordinary kitchen sponge for this one, but using a foam craft brush works great, too.
Here is a gret video for learning the sponge technique on YOUTUBE....
And here is a few more photos.... All indoors under fluorescent lighting.

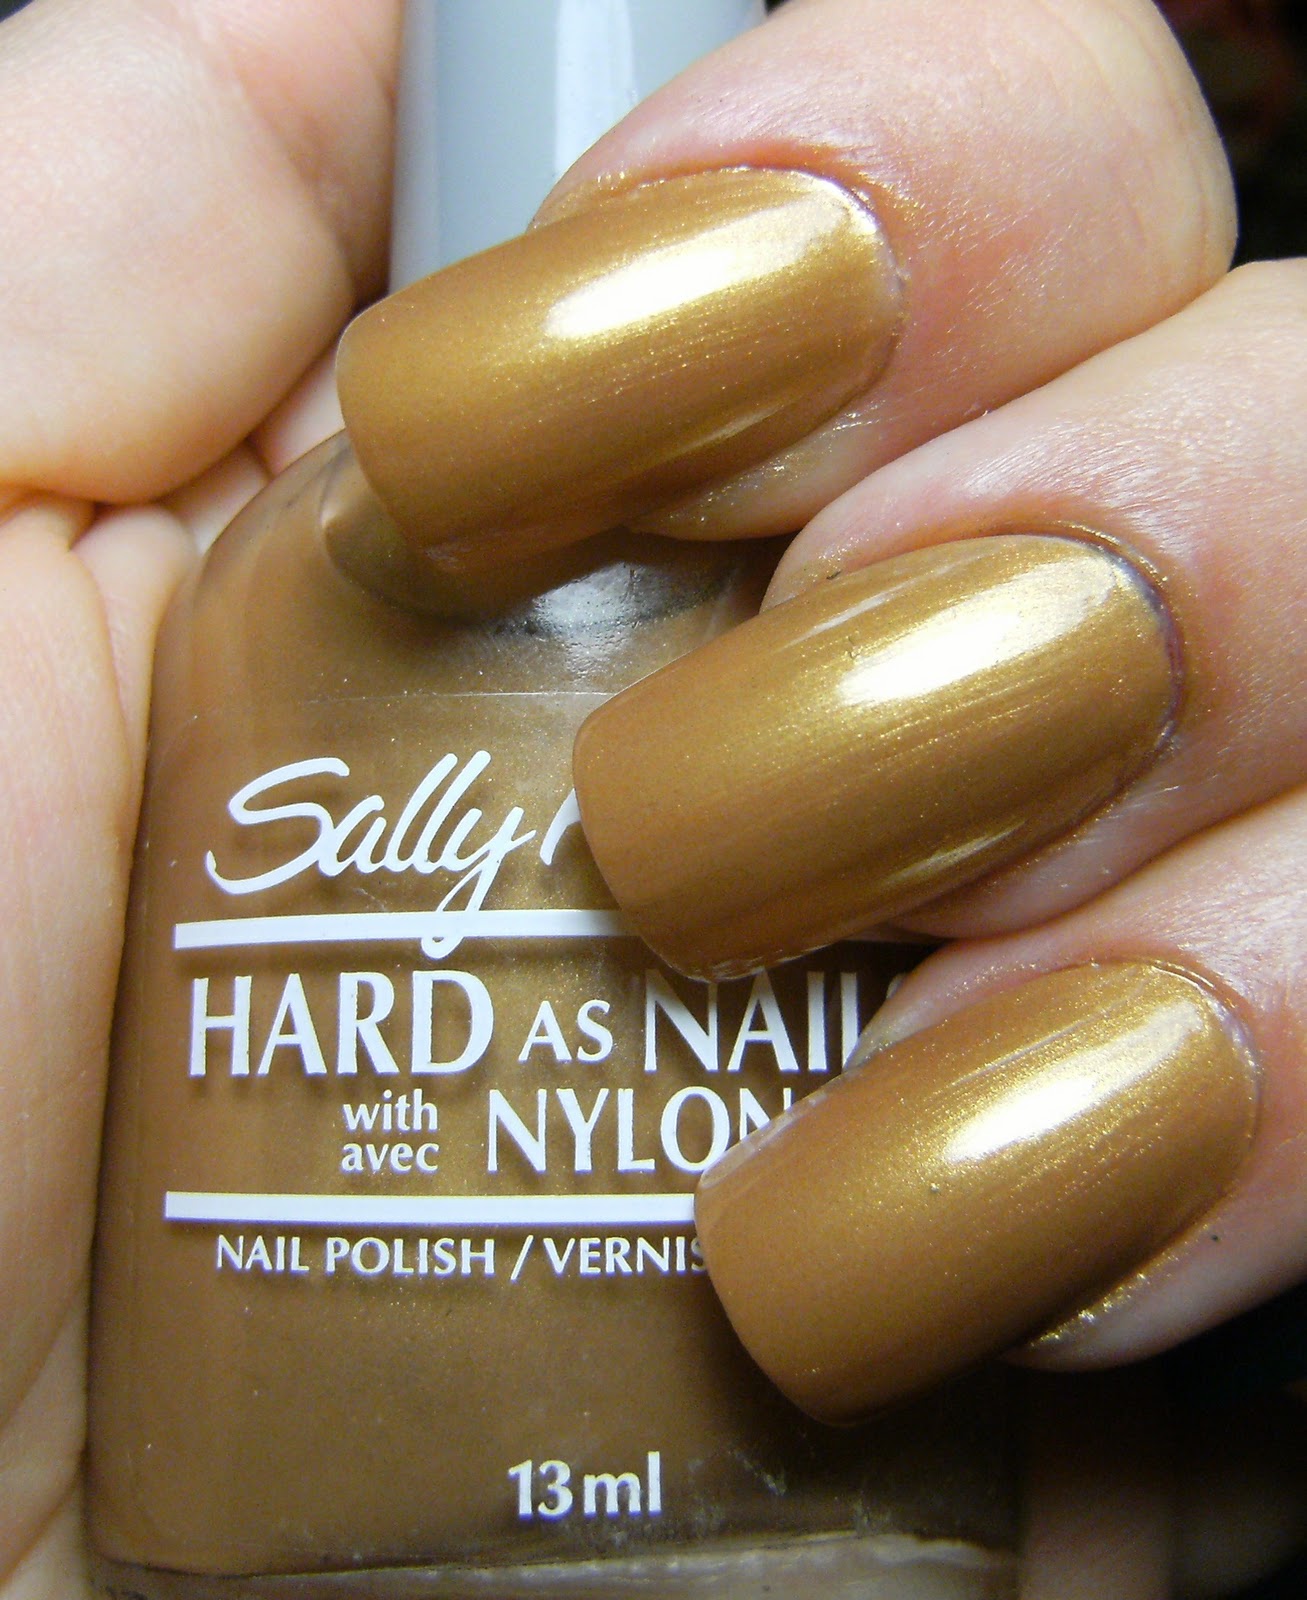
This Billie polish is super- duper, ridiculously metallic... it looks like tiny pieces of metal. This bottle has contaminated 2 perfectly good bottles of TC, before I figured out why my TC had little bits of silver in them.....

♥


 ♥
♥